- 玩转 Stable diffusion(落地实操版)
玩转 Stable diffusion(落地实操版)
什么是 Midjourney、Stable Diffusion
举个例子:
可以将他们类比为画家的手和工具,根据你打的文字和选择的不同参数,来画出你想要的作品。
但是画出什么风格的作品,取决于模型。
可以把模型类比为画家的大脑,提示词和参数就是灵感。
为什么选择 Stable Diffusion?
- 可以在大多数配备有适度GPU的电脑硬件上运行
- 项目代码及模型权重开源,开源社区开发者可以在它的基础上进行二次开发
- 免费、无需注册
- 与 Midjourney 相比,配置略微繁琐。(过去式,下面将分享傻瓜式教程)
开发环节,先在iOS上跑起来(简述)
Core ML Stable Diffusion
github
苹果专门为 Stable Diffusion 推出的工具,作用有两个:
- 将模型转换为 CoreML 格式
- 以 Swift 代码调用 CoreML 模型实现图像生成。
- 支持 CPU、GPU、NE(神经引擎、专为深度学习任务设计的硬件加速器) 等多种运行方式
下载模型
Huggingface上已有转换好的模型,我们可以直接下载。
    @discardableResult
    func download() async throws -> URL {
        if ready || downloaded { return downloadedURL }

        let downloader = Downloader(from: url, to: downloadedURL)
        self.downloader = downloader
        downloadSubscriber = downloader.downloadState.sink { state in
            if case .downloading(let progress) = state {
                self.state = .downloading(progress)
            }
        }
        try downloader.waitUntilDone()
        return downloadedURL
    }
模型解压缩
    func unzip() async throws {
        guard downloaded else { return }
        state = .uncompressing
        do {
            try FileManager().unzipItem(at: downloadedURL, to: uncompressPath.url)
        } catch {
            // Cleanup if error occurs while unzipping
            try uncompressPath.delete()
            throw error
        }
        try downloadedPath.delete()
        state = .readyOnDisk
    }
生成 StableDiffusionPipeline
     func load(url: URL) async throws -> StableDiffusionPipeline {
        let beginDate = Date()
        let configuration = MLModelConfiguration()
        configuration.computeUnits = computeUnits
        let pipeline = try StableDiffusionPipeline(resourcesAt: url,
                                                   configuration: configuration,
                                                   disableSafety: false,
                                                   reduceMemory: model.reduceMemory)
        print("Pipeline loaded in \(Date().timeIntervalSince(beginDate))")
        state = .loaded
        return pipeline
    }
文生图
    /// Text to image generation using stable diffusion
    ///
    /// - Parameters:
    ///   - prompt: Text prompt to guide sampling
    ///   - negativePrompt: Negative text prompt to guide sampling
    ///   - stepCount: Number of inference steps to perform
    ///   - imageCount: Number of samples/images to generate for the input prompt
    ///   - seed: Random seed which
    ///   - guidanceScale: Controls the influence of the text prompt on sampling process (0=random images)
    ///   - disableSafety: Safety checks are only performed if `self.canSafetyCheck && !disableSafety`
    ///   - progressHandler: Callback to perform after each step, stops on receiving false response
    /// - Returns: An array of `imageCount` optional images.
    ///            The images will be nil if safety checks were performed and found the result to be un-safe
    public func generateImages(
        prompt: String,
        negativePrompt: String = "",
        imageCount: Int = 1,
        stepCount: Int = 50,
        seed: UInt32 = 0,
        guidanceScale: Float = 7.5,
        disableSafety: Bool = false,
        scheduler: StableDiffusionScheduler = .pndmScheduler,
        progressHandler: (Progress) -> Bool = { _ in true }
    ) throws -> [CGImage?] {

        // Encode the input prompt and negative prompt
        let promptEmbedding = try textEncoder.encode(prompt)
        let negativePromptEmbedding = try textEncoder.encode(negativePrompt)

        if reduceMemory {
            textEncoder.unloadResources()
        }

        // Convert to Unet hidden state representation
        // Concatenate the prompt and negative prompt embeddings
        let concatEmbedding = MLShapedArray<Float32>(
            concatenating: [negativePromptEmbedding, promptEmbedding],
            alongAxis: 0
        )

        let hiddenStates = toHiddenStates(concatEmbedding)

        /// Setup schedulers
        let scheduler: [Scheduler] = (0..<imageCount).map { _ in
            switch scheduler {
            case .pndmScheduler: return PNDMScheduler(stepCount: stepCount)
            case .dpmSolverMultistepScheduler: return DPMSolverMultistepScheduler(stepCount: stepCount)
            }
        }
        let stdev = scheduler[0].initNoiseSigma

        // Generate random latent samples from specified seed
        var latents = generateLatentSamples(imageCount, stdev: stdev, seed: seed)

        // De-noising loop
        for (step,t) in scheduler[0].timeSteps.enumerated() {

            // Expand the latents for classifier-free guidance
            // and input to the Unet noise prediction model
            let latentUnetInput = latents.map {
                MLShapedArray<Float32>(concatenating: [$0, $0], alongAxis: 0)
            }

            // Predict noise residuals from latent samples
            // and current time step conditioned on hidden states
            var noise = try unet.predictNoise(
                latents: latentUnetInput,
                timeStep: t,
                hiddenStates: hiddenStates
            )

            noise = performGuidance(noise, guidanceScale)

            // Have the scheduler compute the previous (t-1) latent
            // sample given the predicted noise and current sample
            for i in 0..<imageCount {
                latents[i] = scheduler[i].step(
                    output: noise[i],
                    timeStep: t,
                    sample: latents[i]
                )
            }

            // Report progress
            let progress = Progress(
                pipeline: self,
                prompt: prompt,
                step: step,
                stepCount: stepCount,
                currentLatentSamples: latents,
                isSafetyEnabled: canSafetyCheck && !disableSafety
            )
            if !progressHandler(progress) {
                // Stop if requested by handler
                return []
            }
        }

        if reduceMemory {
            unet.unloadResources()
        }

        // Decode the latent samples to images
        return try decodeToImages(latents, disableSafety: disableSafety)
    }
证书设置
因为占用内存较大,需要打开以下两个选项。
- Extended Virtual Addressing
- Increased Memory Limit
最终效果
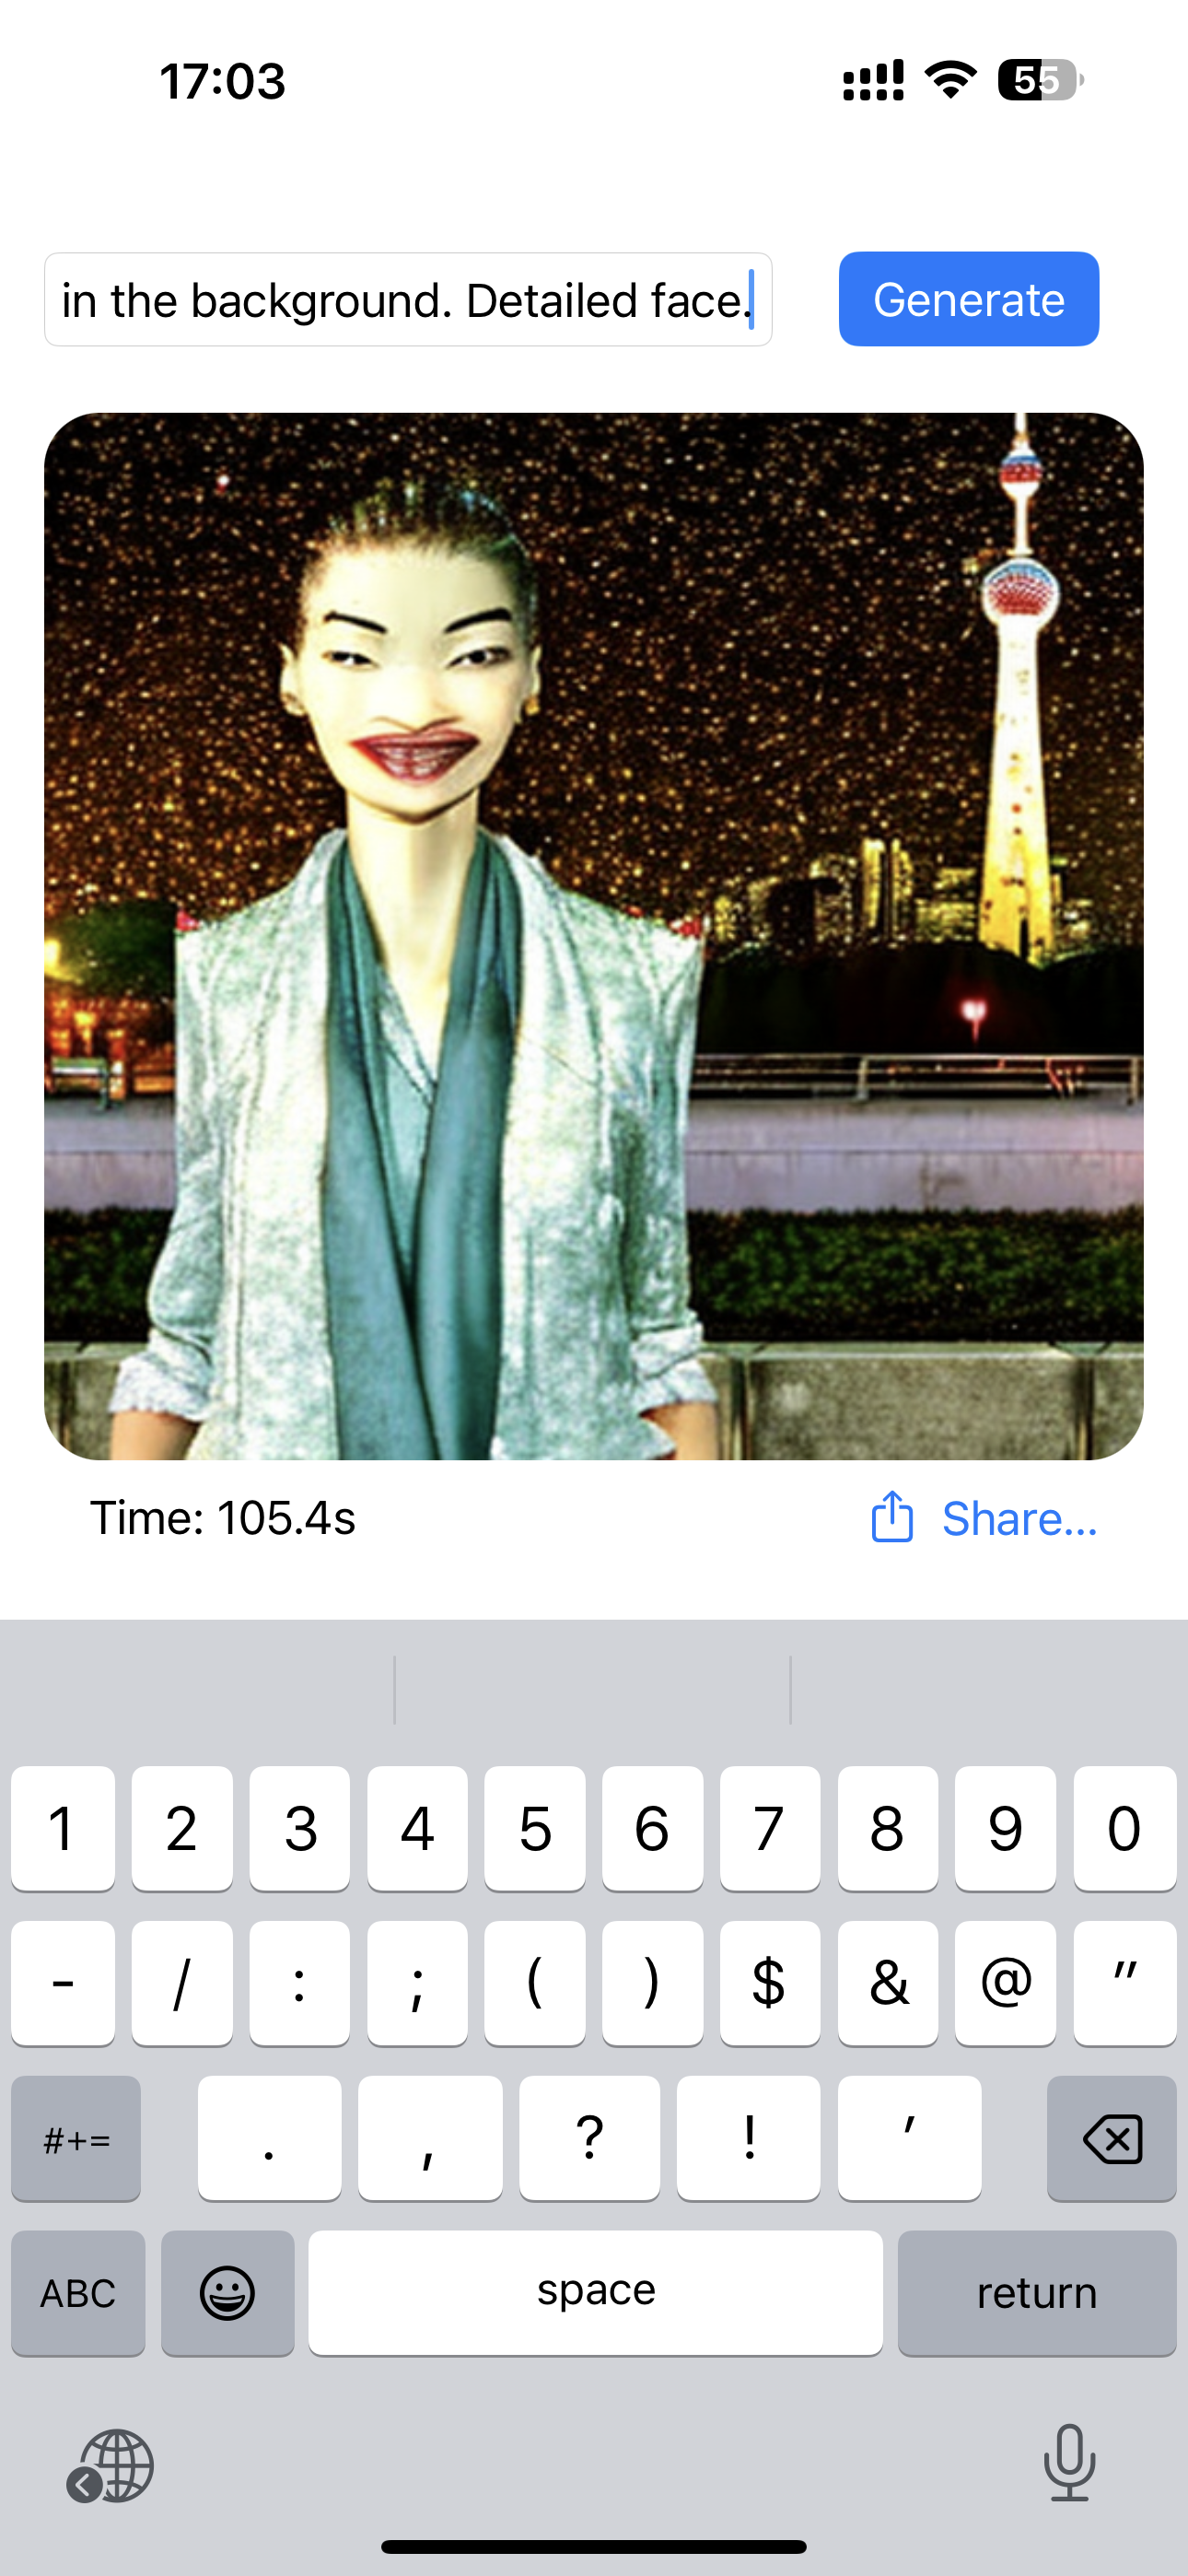
在各种设备上把 Stable Diffusion 玩起来
iOS
在手机上可以通过 Draw Things 这款 App 来使用 Stable Diffusion,不用连网完全本地运行出图,不过目前对手机型号和系统版本有如下要求:
- 手机设备要求 iPhone XS、XS Max、Xr、11、11 Pro、11 Pro Max、SE 2nd Gen、12、12 Mini、12 Pro、12 Pro Max、SE 3rd Gen、13、13 Mini、13 Pro、13 Pro Max、14、14 Plus、14 Pro、14 Pro Max,要求系统在 iOS 15.4 及以上。
- 平板设备要求 iPad Air、Mini、Pro,要求系统在 iPadOS 15.4 及以上。
MacOS
要想在苹果 macOS 系统的电脑上把 Stable Diffusion 玩起来,有两种方案:
Draw Things App
- 设备要求:
- M1/M2 芯片的 Mac Mini、Mac Studio、MacBook Air、MacBook Pro,且 macOS 系统版本在 12.4 及以上。
- Draw Things 的基础功能:
- 文字生成图片
- 文字+图片生成图片
- 内补绘制(Inpainting)
- 计算机视觉领域的一个任务,目的是将图片中丢失或者被损坏的部分修复,让图片恢复完整。
- 可用于老照片修复等场景。
- 外补绘制(Outpainting)
- 也被称为图像扩展或者图像预测,是计算机视觉领域的另一个任务,其目标是从已有的图像内容中预测出图像外部可能的内容。
- 举个例子,如果你有一张海滩的图片,外补绘制算法可能会生成海滩外的海洋或者沙滩上的其他部分。
Stable Diffusion WebUI
在苹果电脑本地玩 Stable Diffusion 的另外一种方式是安装 Stable Diffusion WebUI.
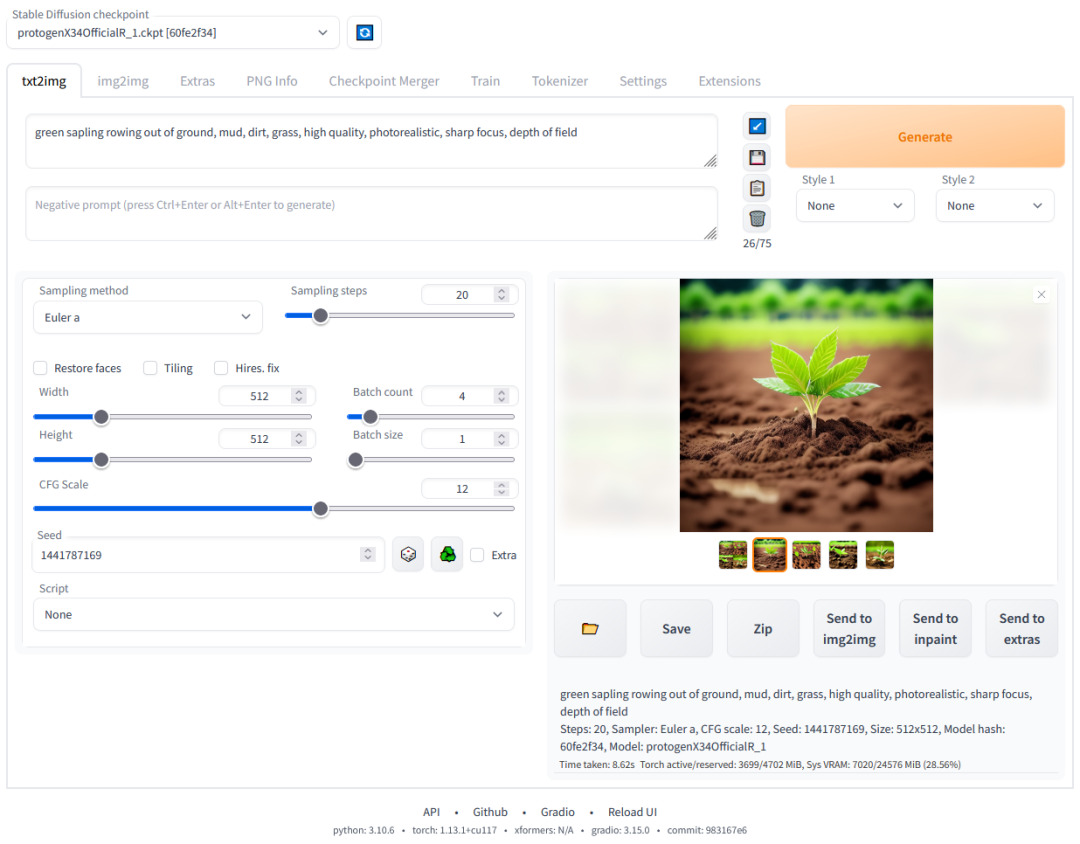
Stable Diffusion WebUI 是一个开源的基于 Gradio 库开发的用于使用 Stable Diffusion 的 Web 页面项目。
Gradio 则是专门用于轻松实现 AI 算法可视化部署的开源库。
简单来讲就是 Stable Diffusion WebUI 提供了一套 Web 页面让我们可以通过在网页上使用 Stable Diffusion 的各种能力。它长这样:
SD Web UI 环境搭建 (略)
由于 Stable Diffusion WebUI 使用的 Gradio 是基于 python3 的项目,所以,搭建这套环境最主要的问题是解决 python3 的环境问题。
Windows PC
要在 Windows PC 电脑上把 Stable Diffusion 搭建起来,首先需要显卡能够满足需要,Stable Diffusion WebUI 的最低显存要求是 4GB。
如果显卡给力,接下来的工作就跟在 macOS 电脑上搭建的道理类似,就是把 Stable Diffusion WebUI项目及依赖的 python 环境及各种依赖库给下载下来,将项目运行起来。
云服务器
除了在自己的 iOS、macOS、Windows 设备上搭建 Stable Diffusion 的环境之外,我们还可以在云服务器上部署 Stable Diffusion。
这里依然要感谢有无私的开发贡献者,把整个流程变得非常简单。这里使用的就是巴哈姆特上的一篇文章介绍的开源部署脚本在 Colab 上部署 Stable Diffusion WebUI。
傻瓜式部署流程
Important: 根据官方声明,Colab的免费级别不适用于Stable Diffusion WebUI 😭 我们只能在付费计划中使用它。
访问 Colab 傻瓜式部署 Stable Diffusion WebUI 的脚本
- 要访问下面的服务,需要具备一定的上网条件,如果条件就绪,你可以打开这个网址:
- https://colab.research.google.com/drive/1lekLF7iib6M1R-NCylS0VMTF4wve-XuV?usp=sharing。
- 直接运行部署脚本的『前置步骤』。
- 点击下列按钮开始执行『前置步骤』:
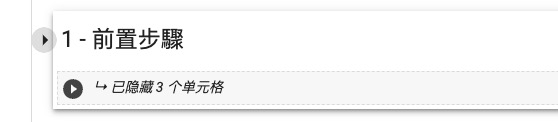
- 成功运行完成后,会看到每一个细分步骤前有一个小绿勾。
- 选择和下载需要的 SD 模型和 LoRA 模型。
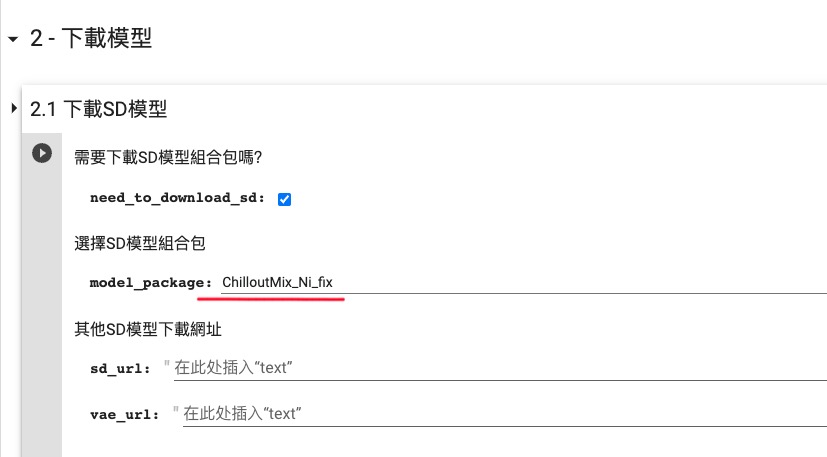
- 在 2.1 下载 SD 模型 这一步,参考下图选择 ChilloutMix_Ni_fix 模型:
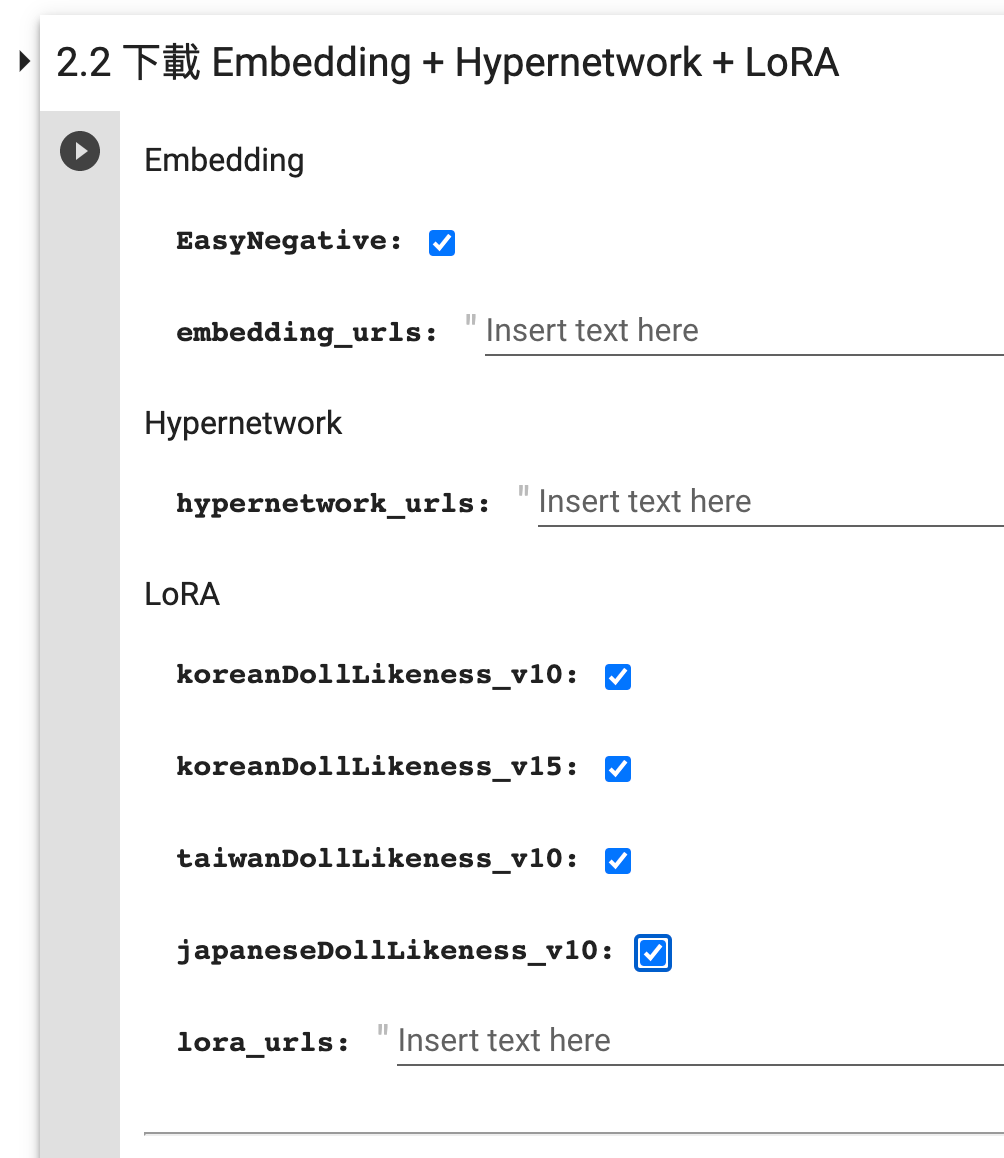
- 在 2.2 下载 Embedding + Hypernetwork + LoRA 这一步,参考下图选择所有的内置 LoRA 模型:
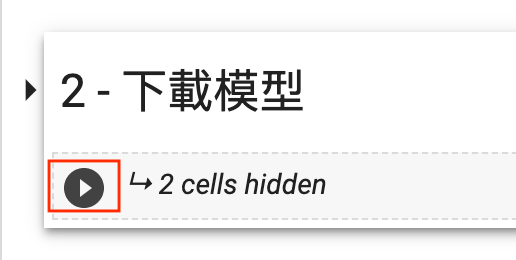
- 收起 2 - 下载模型,点击下列按钮开始执行『下载模型』:
- 同样的,成功运行完成后,会看到每一个细分步骤前有一个小绿勾。
- 选择和下载需要的 Extension。
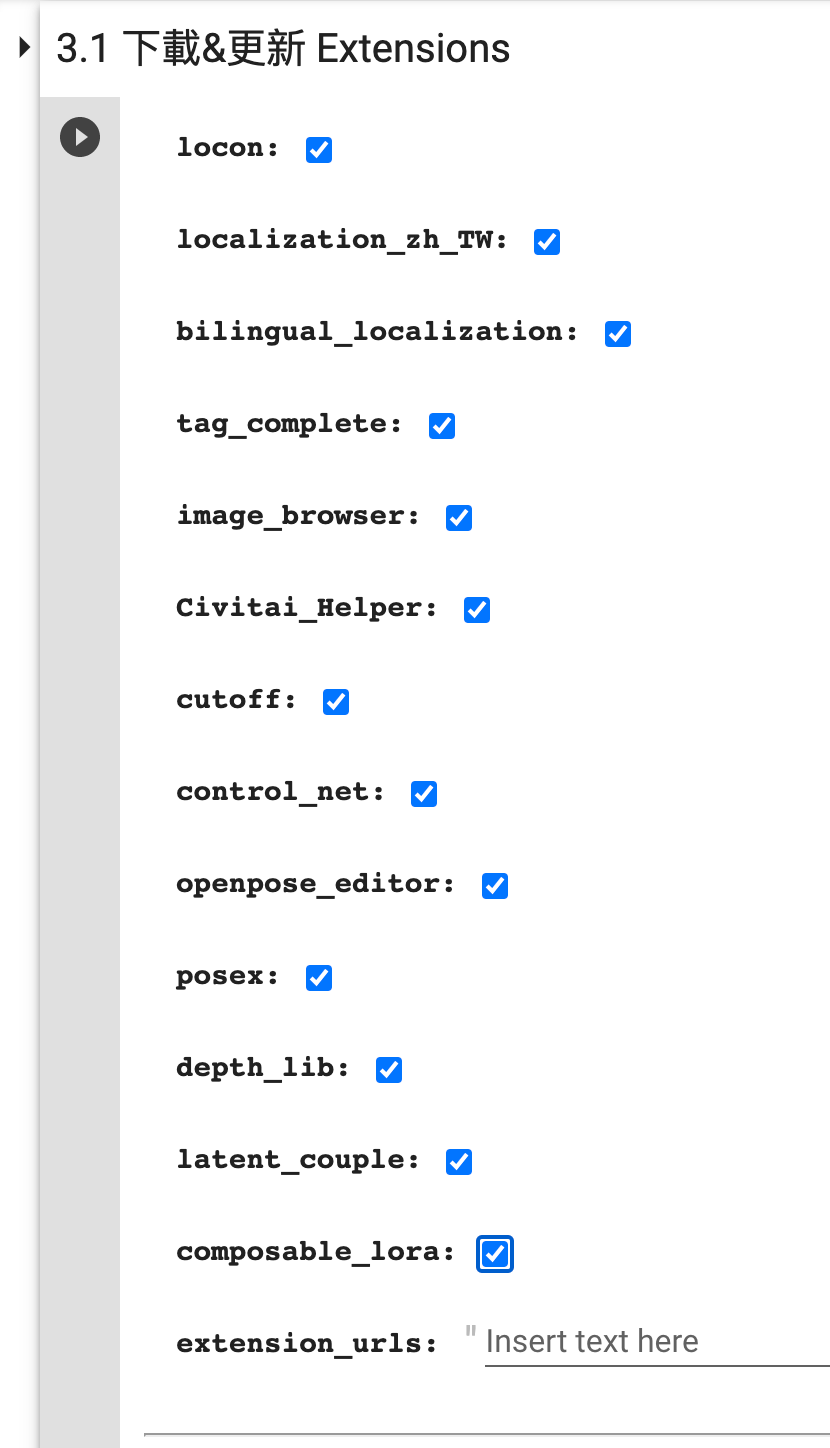
- 在 3.1 下载&更新 Extensions 这一步勾选需要的扩展:
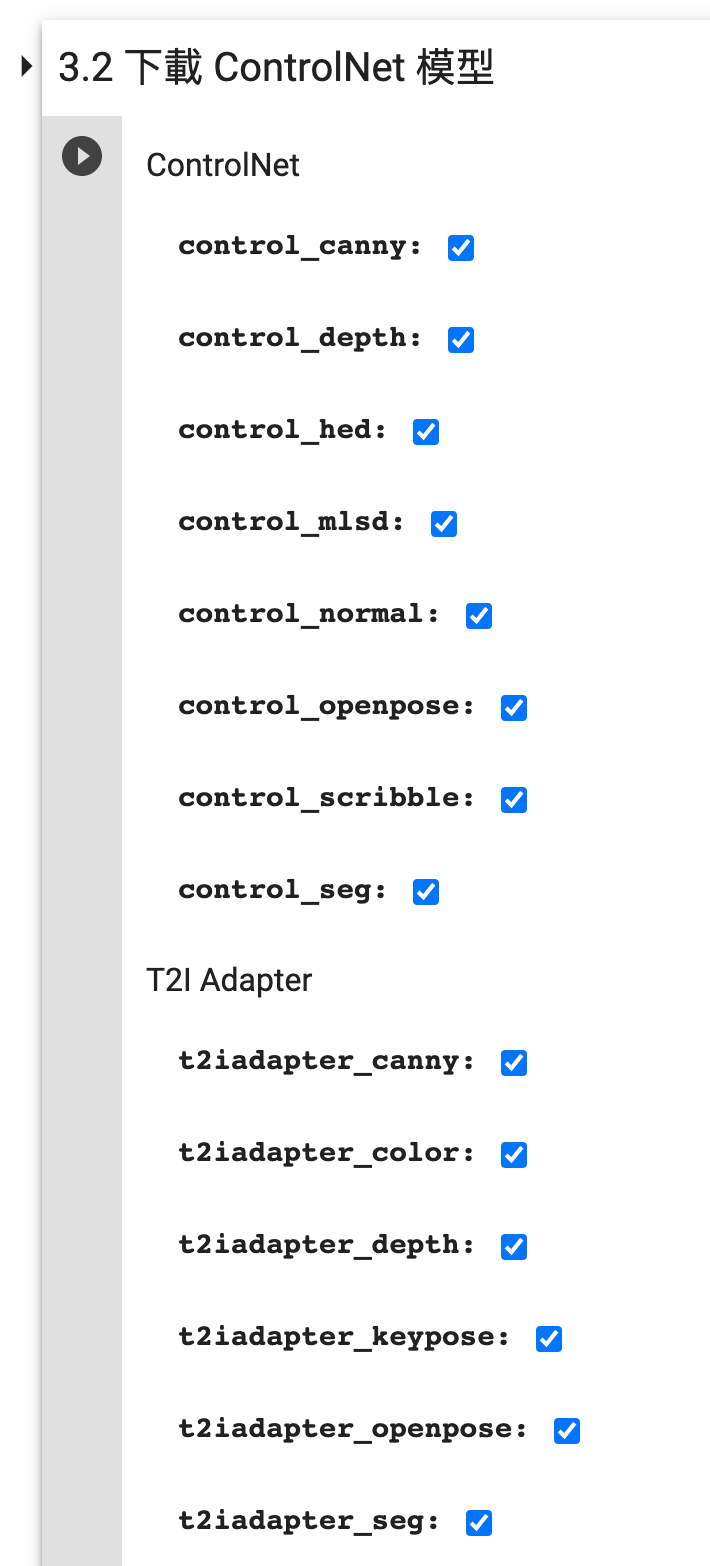
- 在 3.2 下载 ControlNet 模型 这一步勾选需要的 ControlNet 模型:
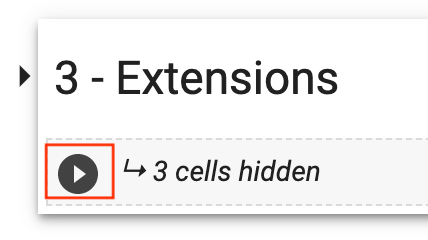
- 收起 3 - Extension,点击下列按钮开始执行『Extension』:
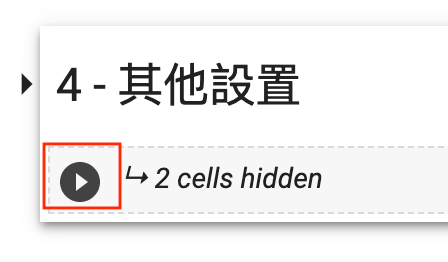
- 直接执行『其他设置』。
- 点击下列按钮开始执行『其他设置』:
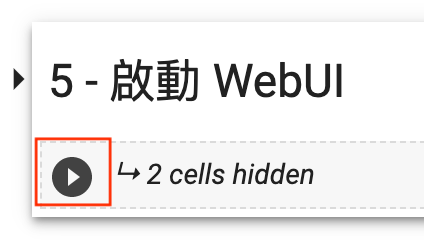
- 直接执行『启动 WebUI』。
- 点击下列按钮开始执行『启动 WebUI』:
- 如果顺利运行,到后面你会看到如下输出:

- 点击 public URL 进入 WebUI 页面即可开始使用了。
不同方案的优势和限制
iPhone、iPad
使用 Draw Things App:
- 优势:
- 本地出图,随时可玩
- 使用方便
- 支持中文(新版本刚支持)
- 支持选择模型
- 支持 LoRA
- 支持 ControlNet
- 限制:
- 对设备有要求, xs 以上
- 使用时手机发热
- 出图速度一般
Mac OS
使用 Draw Things App:
- 优势:
- 本地出图,随时可玩
- 使用方便
- 支持中文(新版本刚支持)
- 支持选择模型
- 支持 LoRA
- 支持 ControlNet
- 出图速度还可以 30s 左右
- 限制:
- 对设备有要求, M1 芯片
使用 Stable Diffusion Web UI
- 优势:
- 本地出图,随时可玩
- 支持选择模型
- 支持 LoRA
- 支持 ControlNet
- 有丰富的插件
- 限制:
- 对设备有要求, M1 芯片
- 比较吃内存, 建议内存32G以上
- 使用略复杂
- 需要部署
- 出图速度一般
Windows PC
使用 Stable Diffusion Web UI
- 优势:
- 本地出图,随时可玩
- 支持选择模型
- 支持 LoRA
- 支持 ControlNet
- 有丰富的插件
- 出图速度还可以 15s 左右
- 限制:
- 要求显卡显存 4GB 以上,内存 16GB 以上
- 使用略复杂
- 需要部署
云服务器
使用 Stable Diffusion Web UI
- 优势:
- 不需要考虑硬件资源
- 支持选择模型
- 支持 LoRA
- 支持 ControlNet
- 有丰富的插件
- 出图速度还可以 15s 左右
- 限制:
- 使用略复杂
- 需要部署
- 需要联网使用
- 使用云服务资源可能需要付费
手把手教你生成一张专业摄影图
手把手教你给模特换装
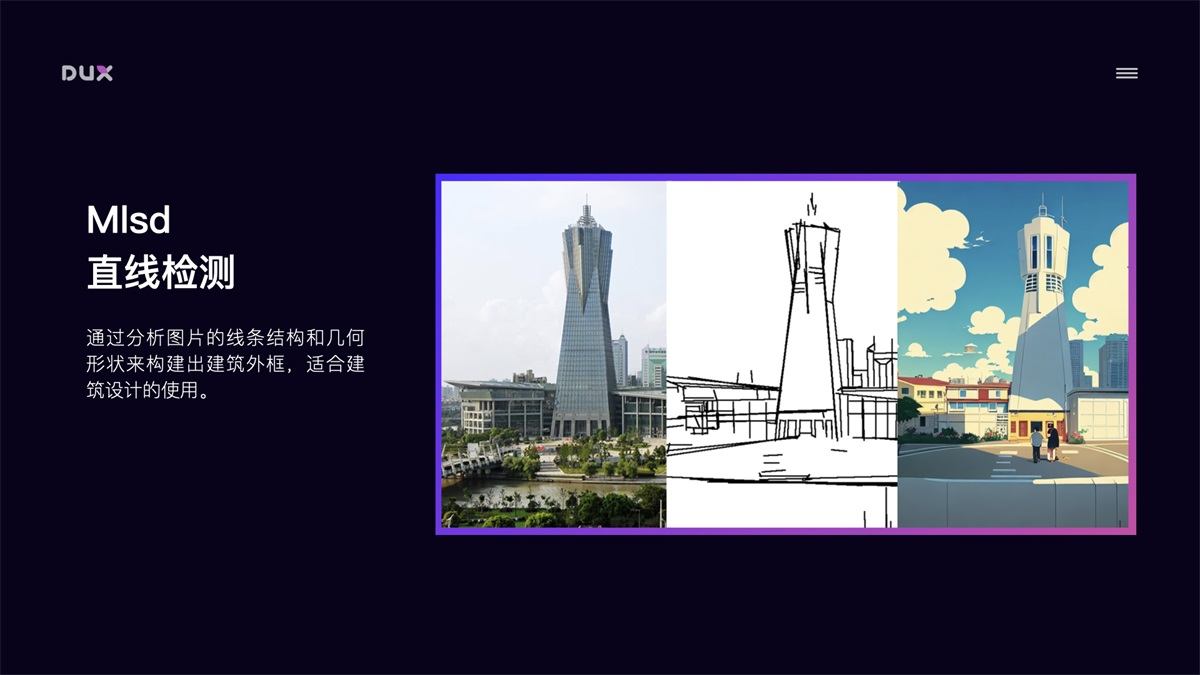
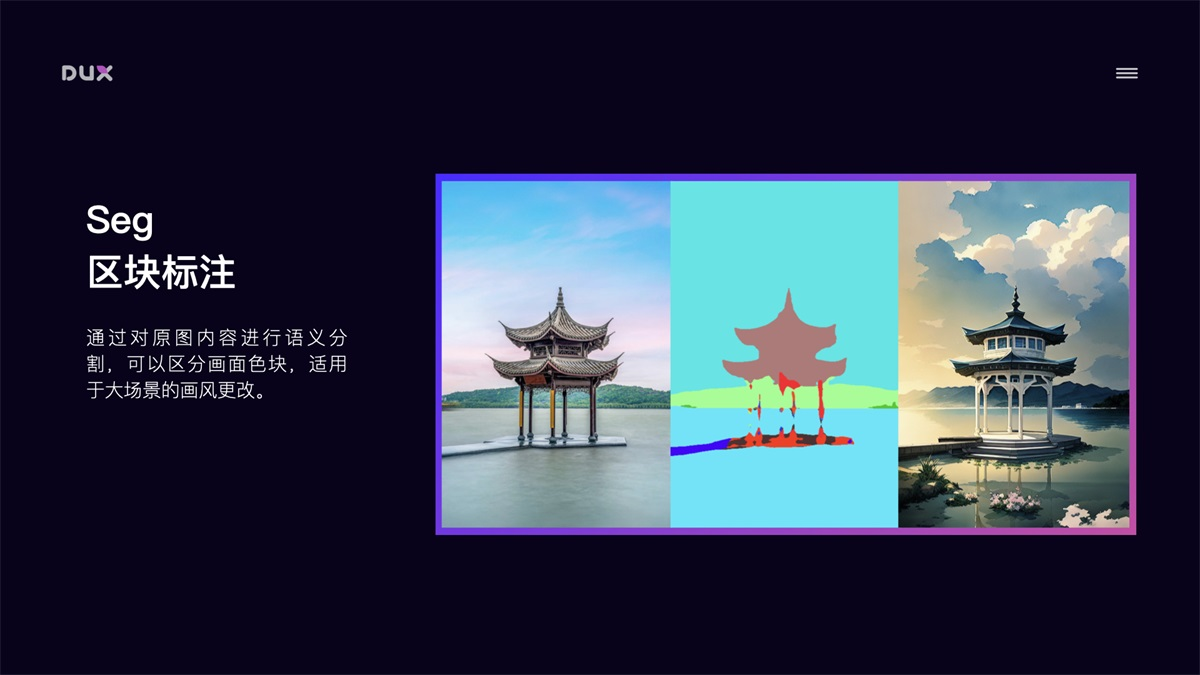
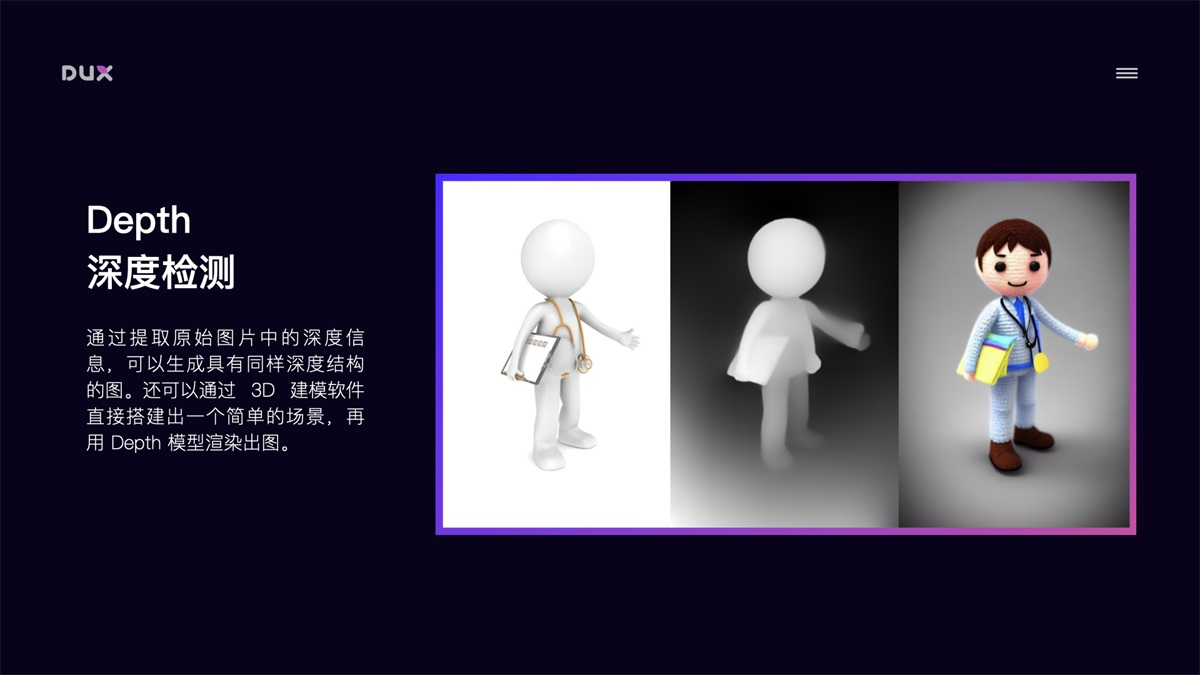
ControlNet的其他妙用